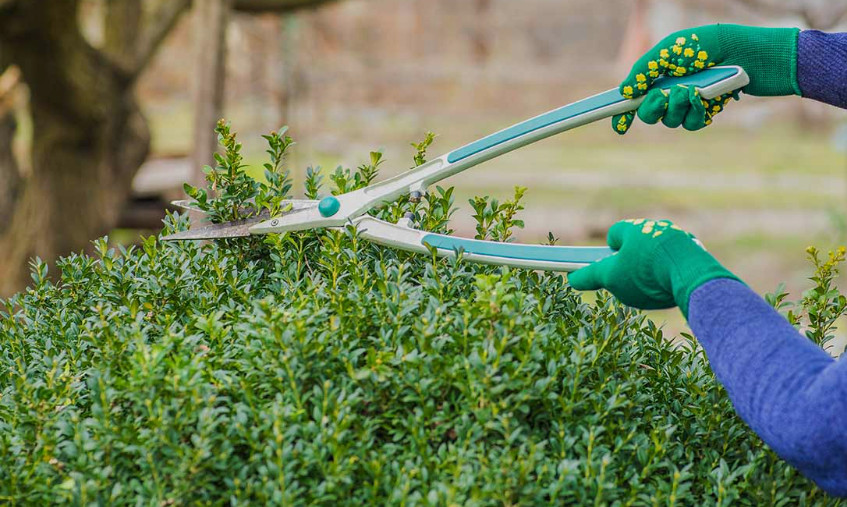
Knowing how to prune boxwood shrubs for healthy growth is what separates a hedge that stays green inside for decades from one that turns into a hollow shell of leaves around bare, twiggy stems. Most gardeners think of boxwood pruning as shearing, the quick haircut that gives a hedge its crisp edges. Shearing has its place, but it is only half the job. The cut that keeps boxwood healthy is thinning: taking out small sections of branches by hand so light and air can reach the center of the plant.
The reason comes down to how boxwood grows. Most new growth comes from buds near the tips of existing branches. Every time a boxwood is sheared, it branches more at the outer edge, and over the years the plant builds a thick outer coat of foliage. That coat shades the interior, the inner leaves drop, and the plant becomes a green shell with an empty, poorly ventilated core. Clemson Cooperative Extension notes that much of the poor health seen in boxwood comes from never thinning the plant, because very thick foliage encourages fungal leaf spot and twig blight.
Airflow matters even more now than it did a generation ago. Boxwood blight has spread to more than 20 states since it arrived in the US in 2011. Like many leaf diseases, it thrives when foliage stays wet for long stretches. A thinned shrub dries faster after rain and irrigation, which makes it a less welcoming place for fungal spores. Pruning will not prevent disease by itself, but a dense, unthinned boxwood is noticeably more vulnerable.
Timing depends on what kind of cut you are making. Chicago Botanic Garden recommends early spring for overall shaping, while trimming stray branches and making thinning cuts can be done anytime during the growing season. The one window to avoid for heavy work is late summer and early fall. Pruning then pushes out tender new growth that may not harden off before the first hard freeze, and in northern gardens that growth is often killed outright.
Different boxwoods need different amounts of care. English boxwood and the dense American types build up the thickest outer shells and benefit most from yearly thinning. Korean and many hybrid boxwoods tend to stay more open inside, but they still respond well to it. Dwarf cultivars grow so slowly that they may only need light attention every few years. Knowing which type you have helps you decide how much to cut and how often.
The steps below cover the full pruning year for a typical North American garden. They include the tools to gather, how to thin and shear correctly, how to restore an overgrown shrub, and what to do afterward. They apply whether you are caring for a single specimen by the front door or a 50-foot hedge along a property line.
1. Identify Your Boxwood Type
Before you cut, figure out which boxwood you are working with, because it determines how aggressive you can be. English and American boxwoods are dense and slow, and they need regular thinning to stay healthy inside. Korean, Japanese, and hybrid types such as ‘Green Velvet’ and ‘Winter Gem’ grow faster and more openly, so they tolerate shearing better. If you do not know the variety, look at the growth pattern. A plant that is thick and dark green on the outside but brown and leafless when you part the branches needs thinning first.
2. Gather the Right Tools
You need 3 basic tools. Sharp bypass hand pruners handle most thinning cuts on stems up to about ½ inch thick. Hedge shears, manual or electric, are for formal shaping. Loppers or a small folding pruning saw are for the occasional thick, old stem during renewal work. Sharp blades make clean cuts that heal quickly, while dull blades crush stems and leave ragged wounds that invite disease.
3. Clean and Disinfect Your Tools
Wipe or dip your blades in 70% rubbing alcohol before you start and between plants, especially if you are working in more than 1 garden. This simple habit is one of the most effective ways to avoid spreading boxwood blight and other diseases. Also wear clean clothing and shoes when moving between properties, since spores can hitch a ride on fabric and boot treads.
Also Read: Best Boxwood Shrubs for Hedges
4. Choose a Dry Day
Prune only when the foliage is completely dry. Working among wet boxwoods splashes fungal spores from leaf to leaf and pushes them into fresh cuts. A dry, overcast morning in early spring is ideal. Avoid days below freezing, since frozen stems break and split rather than cutting cleanly.
5. Inspect the Plant Before Cutting
Gently part the branches with your hands and look into the center of the shrub. Check for dead or broken stems, leaves with dark spots, black streaks on green stems, orange pustules, or blistered leaves that could signal leafminer. If you see dark leaf spots together with rapid leaf drop and black stem streaks, stop. Bag a sample and have it diagnosed by your local extension office before pruning, because pruning a blighted plant spreads the disease.
6. Remove Dead and Damaged Wood First
Start every pruning session by cutting out dead, broken, and winter-damaged branches. Follow each one back to healthy green wood or to its point of origin, and cut just above a healthy bud or side branch. In cold regions, wait until early to mid-spring for this step, after new growth begins, so you can clearly see which tips survived the winter.
7. Thin the Outer Shell
To thin, reach into the shrub and cut individual branches about 4 to 6 inches back inside the outer surface. Make each cut just above a pair of side buds or a side shoot. Space the cuts evenly across the plant, which some gardeners call “polka-dotting,” so that small openings appear all over the surface rather than 1 big hole. Each opening lets light reach the interior and triggers new growth from inside the plant.
8. Limit How Much You Remove
When thinning, aim to remove only about 10% of the branches in a session. Done properly, the shrub should look almost unchanged when you step back, with only a slightly lighter, airier texture. As a firm upper limit for any type of pruning, do not remove more than about 25% of the plant’s foliage in a single growing season. Going beyond that stresses the shrub and slows its recovery.
9. Clear Debris From the Interior
After thinning, shake the branches gently and pull out any dead leaves and twigs trapped in the crotches of the stems. This debris holds moisture and can harbor disease. A small hand rake or a gloved hand works well. Rake up the fallen leaves beneath the shrub too, especially in areas where boxwood blight has been reported.
Also Read: Best Companion Plants For Boxwood
10. Shear for Shape in Late Spring
If you keep a formal hedge, globe, or topiary, shear after the first flush of spring growth has emerged, usually in late spring to early summer. Trim only the new growth, leaving about ¼ to ½ inch of it, so you do not cut into older, leafless wood. Shearing should always follow thinning, never replace it. A sheared boxwood that is also thinned once a year stays green to the core.
11. Make the Base Wider Than the Top
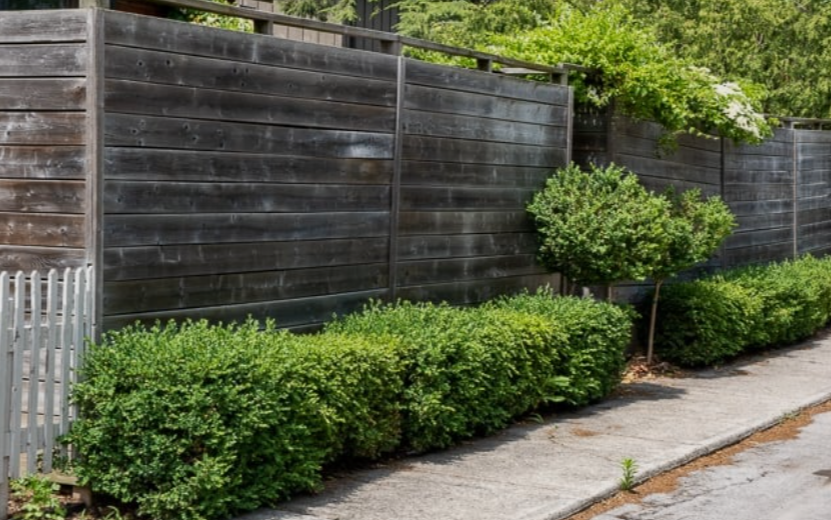
When shaping a hedge, angle the sides so the bottom is slightly wider than the top. This lets sunlight reach the lower branches. A hedge that is flat-sided or wider at the top shades its own base, and the bottom branches gradually thin out and die. Even a few inches of taper on a 3-foot hedge makes a visible difference over time.
12. Use Guides for Straight Lines
For long, formal hedges, run a string line between 2 stakes at the height you want, and use it as a guide for the top cut. A simple wooden template cut to the shape of the hedge’s cross-section helps keep the sides consistent. Step back every few feet to check your work from a distance. Small irregularities are much easier to fix as you go than after the whole hedge is done.
13. Restore Overgrown Shrubs in Stages
An old, overgrown boxwood can be brought back, but not all at once. Spread the work over 2 to 3 years. Each early spring, cut about ⅓ of the oldest, tallest stems back by up to half, or down to a strong side branch lower in the plant. Thin the remaining branches lightly. Boxwood regrows slowly from old, leafless wood, and cutting the entire shrub back hard in a single year can leave it bare for a long time or kill a weakened plant.
14. Dispose of Clippings Carefully
Healthy clippings can be composted or used for propagation and holiday greenery. Any clippings that show signs of disease should be bagged on site and placed in the trash rather than the compost pile. In regions where boxwood blight is present, many extension services recommend bagging all clippings as a precaution.
15. Support Recovery After Pruning
After a pruning session, water the shrub deeply if the soil is dry and refresh the mulch to a depth of 2 to 3 inches, keeping it a few inches away from the stems. Fertilize only if a soil test shows a need, and do it in early spring rather than late summer, when a flush of growth would be vulnerable to cold. Expect new growth to appear about 4 weeks after spring pruning.
16. Stop Heavy Pruning by Late Summer
Finish all shearing and heavy pruning by midsummer in northern gardens and by late summer in the South. Light thinning and the removal of a stray branch here and there can continue into fall. Heavy cuts made just before cold weather leave the plant open to winter burn. Make thinning a yearly habit. A boxwood thinned every spring will need far less corrective work than one left alone for 5 years.
Sources
Clemson Cooperative Extension, “Boxwood”
Chicago Botanic Garden, “Pruning Boxwood Shrubs”
University of Delaware Cooperative Extension, “Pruning Evergreens”
Kansas State University Research and Extension, “Pruning Shrubs”